For my second installment of How it all Started, I will take a little step back and show off gravel washing and getting the grow beds up online.
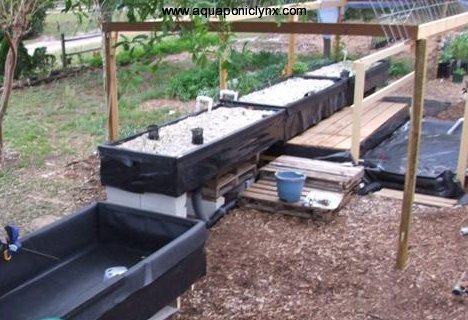
The previous blog post left off with a picture of the system basically up and running with a fish tank, 4 grow beds and a shade structure.
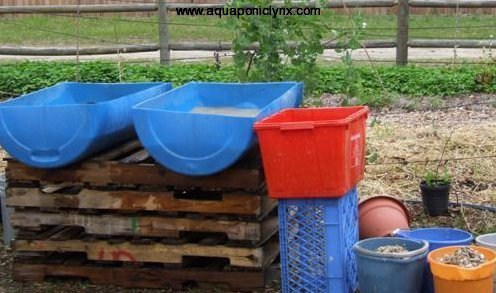
Here I’ll show some more pictures from during the build. Starting with the ever important Gravel Washing. The most important part of gravel washing is to make sure the washing station allows one to work without bending over.
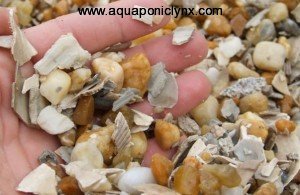
For my big system I got a mix of 1/2″ river rock and washed sea shells of similar size. This means my system is well buffered and there is no worry about the pH dropping but it also means that the pH tends to stay higher than the plants like. However, I will point out that my system has still run very well and been quite productive. I still won’t recommend anyone else do this but it has worked out.
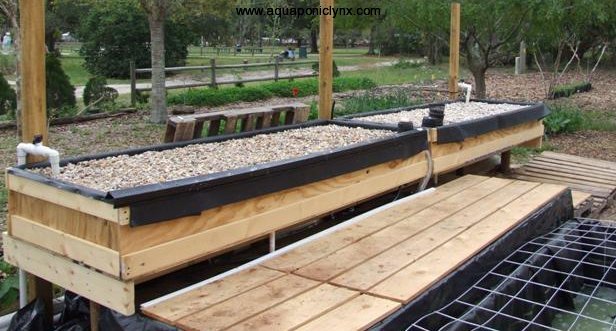
So we washed the media and filled the first two grow beds so I could start the fishless cycling process.
These first two beds have loop siphons that drain into a lined area under the walkway which then drains into the fish tank. (I also don’t recommend doing things like this anymore either.) I also don’t recommend using wood and liner anymore either.
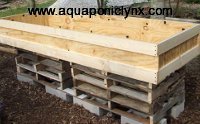
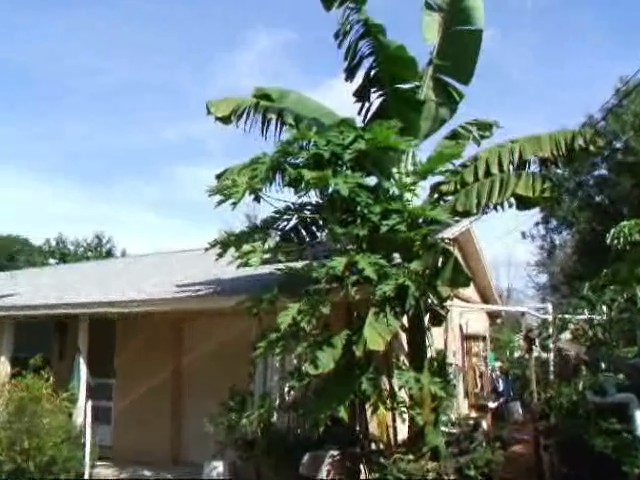
On this first system, I figured if the untreated lumber/liner grow beds were not touching the ground, then it would be ok even in termite territory. Anyway, I didn’t think we would be staying here more than a few years anyway. Well so much for that idea.
So once I get the 4th bed online, I’ll have roughly a 1:1 ratio of grow bed volume to fish tank volume.
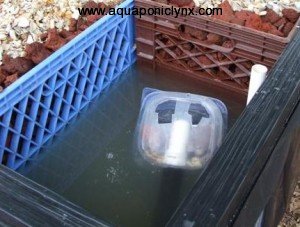
I’m thinking I’ll try a different method of draining the 4th bed. A FLOUT, which stands for Floating Outlet.
The FLOUT uses a flexible tube between the float box and the drain plumbing. The length of the flexible tubing and the float box regulate how deep the bed will flood before water can run into the box to sink it and therefore allowing the bed to drain until enough air enters the box to allow it to float again which usually leaves a few inches of water in the bottom of the bed. FLOUTs are more forgiving of varying flow rates provided they are still slow enough for the FLOUT to still drain the bed. Unfortunately, FLOUTs take up much more space than siphons do.
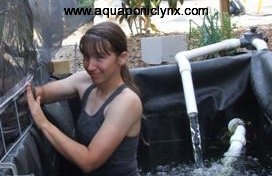
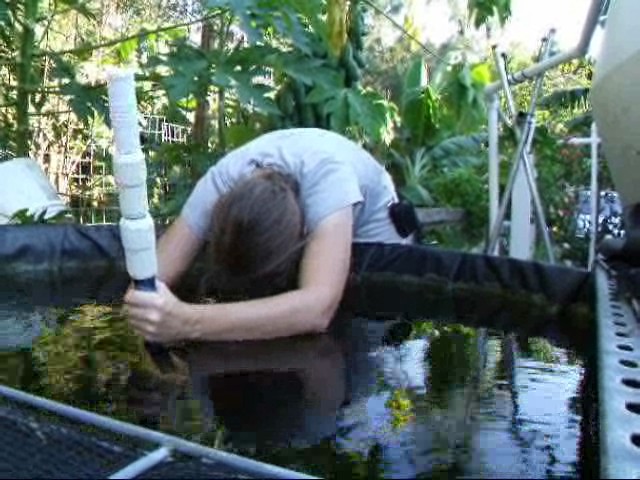
Now with the system quickly cycling up fishlessly, I thought it would be a good idea to get a dark cover over the fish tank before the “pea soup” stage could develop. Here is a rare picture of myself, (I’m usually behind the camera) I was in the fish tank so I could reach to attach the black plastic to the cover fencing.
So fish tank has it’s cover and 4 grow beds online. Fishless cycling complete.
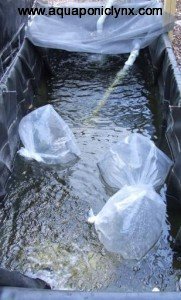
I guess it’s time for fish. We started with 47 very advanced channel catfish fingerlings. Well some were very advanced (like 10-12 inches already) while a few were still down around the 4-5 inch size. Most of them were probably 8-10 inches. We got them from Florida Fish Farms in Center Hill Florida.
For those who wish to go read the detail version check out my original system thread. Pages 24-29 (March 4-24, 2008) are the time frame for this Blog post.
BYAP Forum System Thread Page 24
The System thread details the days I dosed the system with my ammonia source for fishless cycling and the water quality readings which may be of interest to anyone getting ready to cycle up a new system.



Leave a Reply